Detailed Instructions for Installing the Lab Software
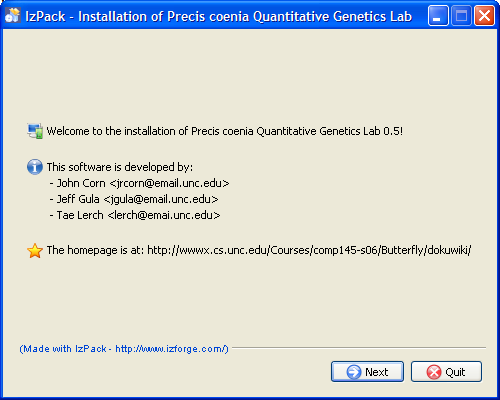
After downloading the PCQGL lab from the website, you will simply need to double-click on the PCQGL_Install.jar file in order to begin the install process. Once you have double-clicked on the file, you will be presented with the first screen of the installation wizard:
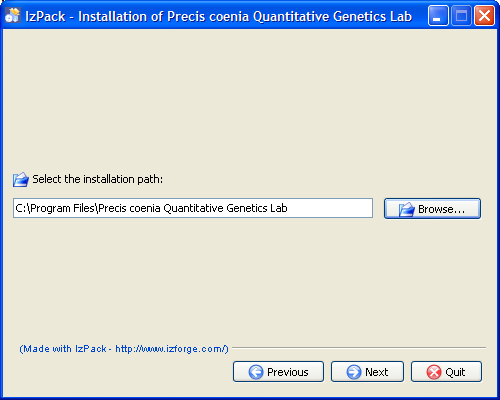
Upon clicking the ‘Next’ button, you will be prompted with a screen that allows you to choose the destination folder where you want the PCQGL to reside, which will look just like this:
We recommend the default, which is ‘C:/Program Files/Precis coenia Quantitative Genetics Lab’, but you can use the ‘Browse’ button to navigate through your files and choose where you want the program to reside. After choosing where you want the program to reside, simply click the ‘Next’ button, and you will be presented with a progress screen, that will show the progress of the installation of the program:
After installation has been completed, the window on your screen will look just like this:
Click on the ‘Next’ button, and you will be taken to a screen that will allow you to choose if you want program shortcuts, and where you want these shortcuts to be placed (default options are on your desktop or in the start menu):
After choosing where you want shortcuts to be placed (if any), click on the ‘Next’ button, which will take you to the final screen:
Finally, click the ‘Done’ button to complete your installation of the PCQGL lab.
Uninstalling the Lab Software
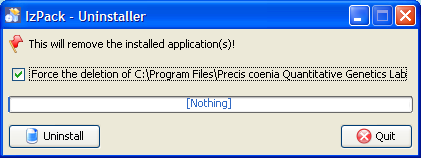
To uninstall the PCQGL lab software, first navigate to the location where you had installed the software (default is ‘C:/Program Files/Precis coenia Quantitative Genetics Lab’). Then, navigate to the ‘Uninstaller’ folder, and double-click on the ‘uninstaller.jar’ file. You will then be presented with the uninstaller wizard, which looks like this:
Make sure that the ‘Force the deletion of C:/Program Files/Precis coenia Quantitative Genetics Lab’ checkbox is checked (the filename will be different if you chose a different installation destination). Simply click on the ‘Uninstall’ button, and the uninstaller will proceed with the uninstallation of the PCQGL lab. Once the uninstaller has finished running, you will be presented with the finalization screen:
To finalize uninstallation, simply click on the ‘Done’ button, and the uninstallion will be completed.


