Before we move on to writing Python programs in files, we need an editor to write the 'source' files. The choice of an editor is crucial. You have to choose an editor as you would choose a car that you want to buy. A good editor will help you write Python programs easily, making your journey more comfortable and helps you reach your destination (achieve your goal) in a much faster and safer manner.
One of the basic requirements of a good editor is syntax highlighting where all the different parts of your program are colorized so that you can see your program and visualize how it will run. This also means that you should avoid Windows Notepad especially because it doesn't support indentation. Indentation means neatly formatting the program with the use of whitespace (spaces and tabs) at the beginning of the line to make it easy to read the program. We will soon learn why indentation is important in Python.
There are various development environments and many editors for Python available. In order to keep things simple, I recommend using the DrPython development environment. It is pronounced as doctor-python. It is called a development environment since you can edit, run and manage Python programs completely within DrPython. An interesting note is that DrPython itself is written in Python.
First, we shall install DrPython.
Visit the wxPython downloads page and download the latest version specific to your system. wxPython is a Python library which helps you to write graphical programs. We need wxPython since DrPython uses wxPython.
Windows users can just double-click the
.exeand install. Linux/BSD users can use their favorite package management software to install wxPython or install from sources. Mac users can use the.dmgfile to install wxPython.Visit the DrPython downloads page and visit the 'Current Version' page.
This will take you to the Sourceforge.net download page. Download the
.exeversion if you are using Windows. Download the zip file if you are using Linux/BSD/Mac.Double-click the
.exefile to install on Windows. To install from the zip file, unzip the file and run python setup.py install in the unzipped directory.Linux/BSD/Mac users should create a shortcut to make it easy to start DrPython.
In the messages that are displayed when running python setup.py install, you will notice a line mentioning
drpython.py. Note that location. On my system, the location was/usr/lib/python2.4/site-packages/drpython/drpython.py.Open up a shell and login as root by running su command.
Run chmod a+x /usr/lib/python2.4/site-packages/drpython/drpython.py . This gives execute permission for this file to all users.
Run ln -s /usr/lib/python2.4/site-packages/drpython/drpython.py /usr/local/bin/drpython . This creates a shortcut to the DrPython program.
Windows users can double-click the DrPython icon on their desktop to start DrPython.
Linux/BSD/Mac users can run DrPython by entering drpython in a shell followed by enter key.
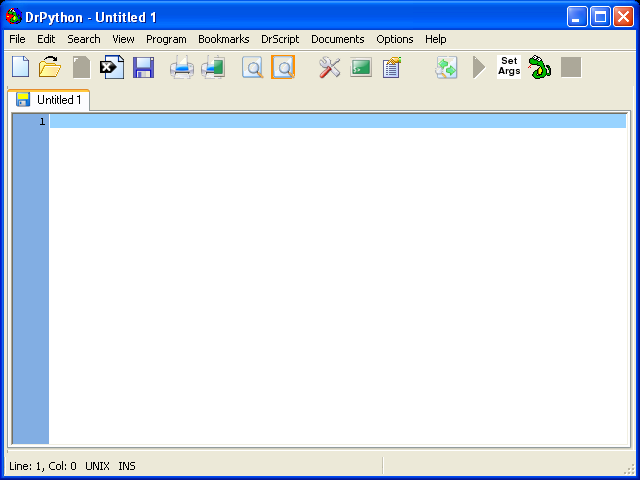
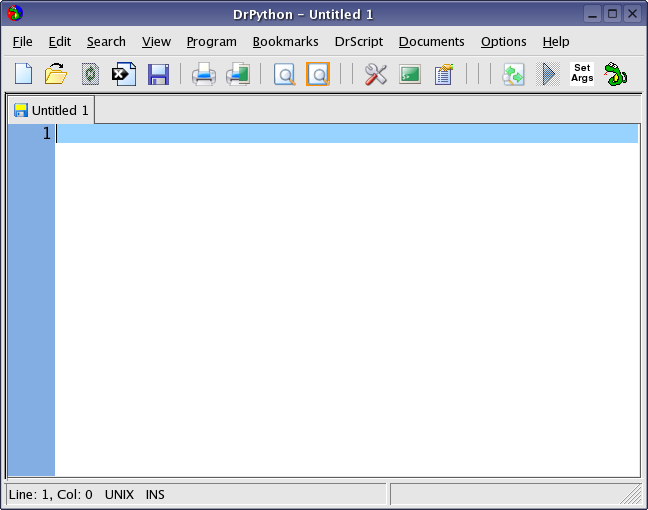
You should see a screen open up like the one below.
This is how it looks like in Windows:

This is how it looks like in Linux:

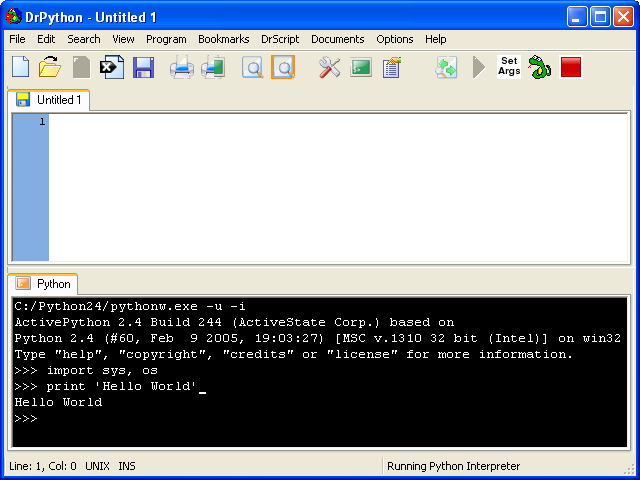
As I have mentioned earlier, there are two ways of using Python to run your program - using the interactive interpreter prompt or using a source file. Let us try the first method using DrPython, instead of the command line which we have used earlier.
In DrPython, click on the menu
-> . If you prefer to use the keyboard,
simply press F7. We are now presented with the
interpreter prompt. Enter the command print 'Hello
World' followed by enter key. You
should see the words Hello World
printed to the screen.

Note
If the text size appears to be small for you, press Ctrl-+ to increase the text size. Similarly, press Ctrl-- to decrease the text size.
We shall next see how to write Python programs in source files.